Share Post:
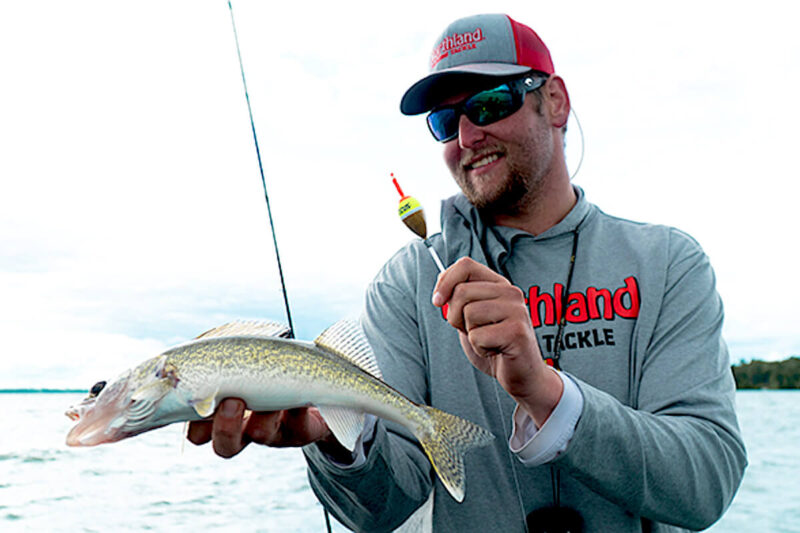
A slip bobber rig is an invaluable tool for anglers seeking versatility in adjusting bait depth without hassle.
This simple yet effective rig has regained popularity, particularly among walleye fishermen, who appreciate its ability to adapt to varying water conditions and fish behavior easily.
With a slip bobber rig, you can effortlessly target fish at different depths, making it a go-to method for those early mornings or evenings by the water.
Table of Contents
ToggleStep-by-Step Setting up a Slip Bobber Rig
The process of setting up a slip bobber rig consists of the following actions:
- Attach the bobber stop
- Add the bead
- Thread the slip bobber
- Add weight
- Attach the hook or jig
Let’s break down the setup process in detail to help you get the most out of your fishing trip.
1. Attach the Bobber Stop
The first step is to slide a bobber stop onto your main fishing line. The bobber stop is a small yet essential component that determines the depth at which your bait will sit.
For example, if you’re fishing in deeper waters, set the stop so your bait will hover just above the bottom where fish often feed.
In shallower areas, adjust it to fish closer to the surface. The beauty of the slip bobber system is that this stop can be easily adjusted on the fly, allowing you to explore different depths without re-rigging.
2. Add the Bead
Once the bobber stop is in place, thread a small bead onto the line. The bead serves as a buffer between the bobber stop and the slip bobber itself.
This step ensures your slip bobber rig works efficiently without jamming, which can be especially important when casting repeatedly throughout the day.
Why the Bead Matters:
Skipping this step can lead to the bobber stop getting caught inside the bobber, which will prevent the rig from functioning properly.
Using a brightly colored bead also adds visibility, making it easier to see your line’s setup.
3. Thread the Slip Bobber
Now it’s time to add the slip bobber to your line. Carefully slide the bobber onto the line, ensuring that it can move freely.
The free movement of the bobber allows your bait to drift naturally, which can be incredibly effective in attracting fish.
Choosing the Right Bobber:
Opt for a slip bobber size that matches the fishing conditions.
For choppy waters, a larger and more buoyant bobber helps with visibility, while a smaller bobber works best in calm conditions where fish might be spooked by bigger floats.
4. Add Weight
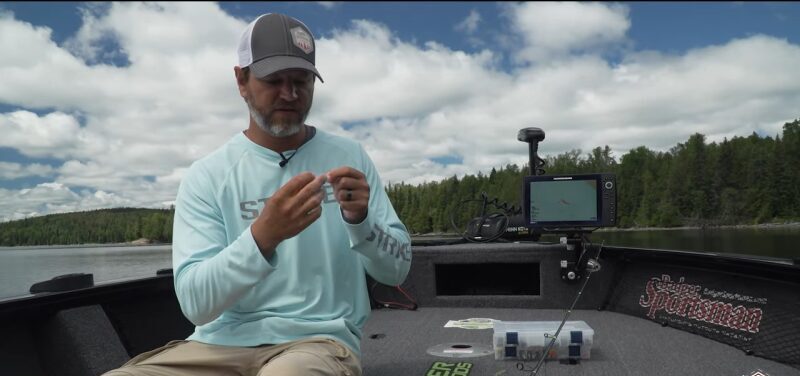
Pinch a split shot weight or slide a small eggsinker onto the line just below the bobber.
This weight helps in several ways: it balances the bobber, ensuring it stands upright in the water and allows for longer, more accurate casts.
Adjusting the Weight:
The amount of weight you need depends on the size of the bobber and the depth you’re fishing at.
If the bobber is riding too high, add an extra split shot. If it’s sitting too low, remove some weight to achieve the perfect balance.
5. Attach the Hook or Jig
The snell knot helps keep your hook or jig in the right position, increasing your chances of hooking fish securely. Once your hook is in place, add your preferred live bait, such as leeches, minnows, or nightcrawlers.
Selecting the Right Hook:
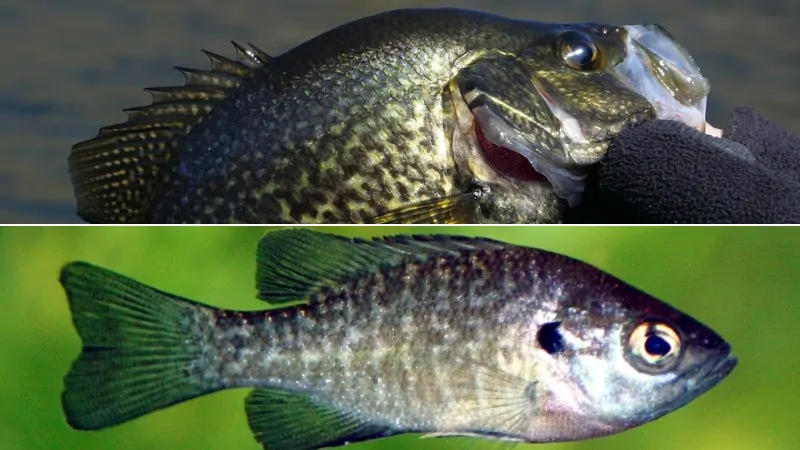
The size of your hook or jig should match the species you’re targeting. For example, smaller hooks work best for panfish like crappie, while larger hooks are ideal for walleye or bass.
Using live bait further enhances the setup by providing natural movement that attracts fish.
Equipment and Components Needed
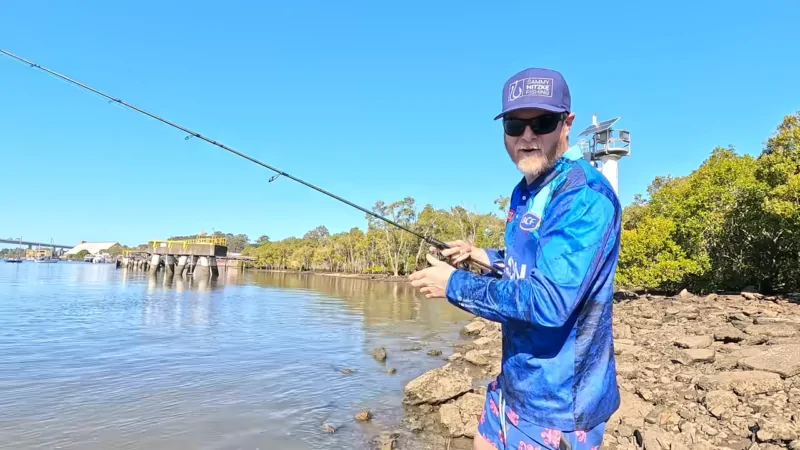
To set up a successful slip bobber rig, start with the right fishing rod.
A longer, medium-light power, fast-action rod is ideal as it allows for better control and sensitivity when detecting bites.
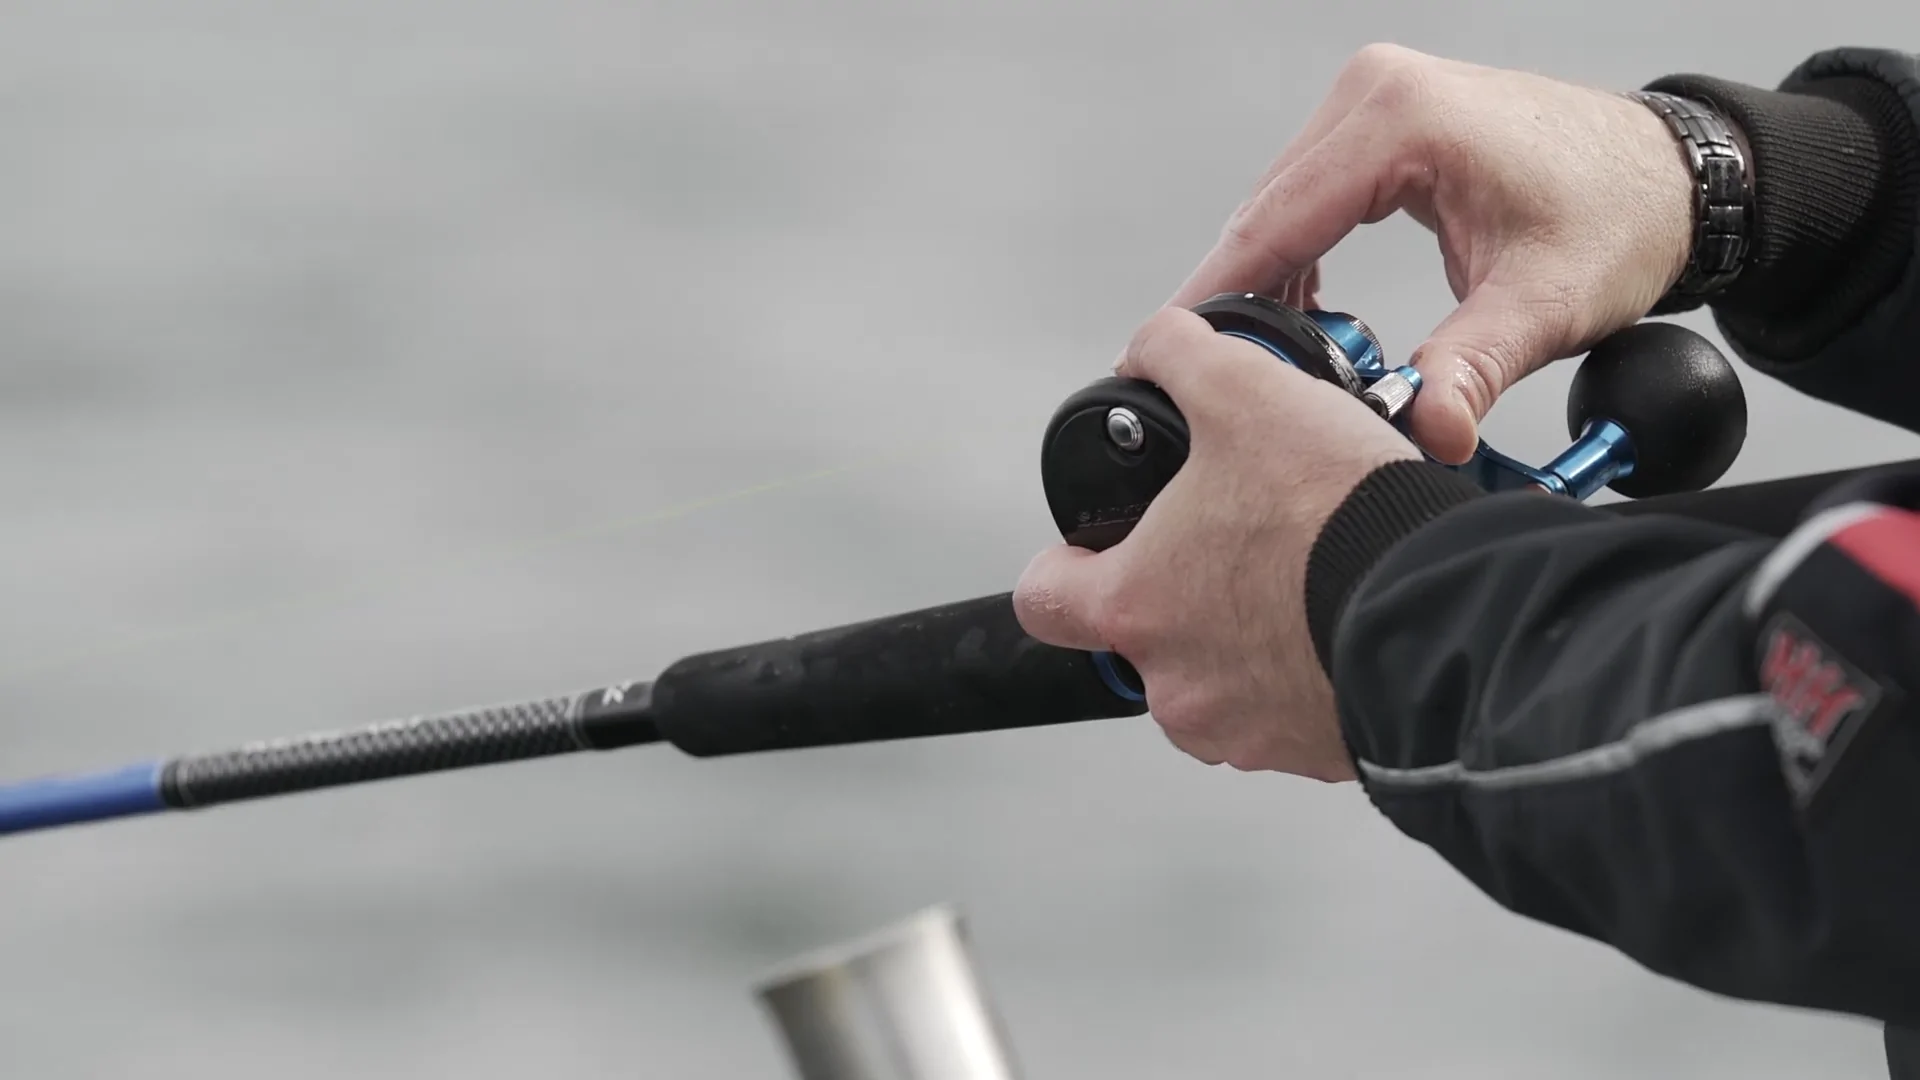
Pair this rod with a spinning reel that has a larger spool, such as the Daiwa Tatula LT, which excels at long casts and smooth retrievals.
Components of the Slip Bobber Rig:
- Bobber Stop: This can be either a string or rubber type, used to set the fishing depth.
- Bead: Placed right after the bobber stop, the bead acts as a cushion, preventing the bobber from sliding past the stop.
- Slip Bobber: Select a size that’s visible in your fishing conditions—larger bobbers for choppy waters, smaller ones for calm lakes.
- Weights: Add split shot weights or a small egg sinker to ensure the bobber sits properly in the water.
- Swivel: Helps prevent line twists, especially when using live bait.
- Hook or Jig: Choose the size of your hook or jig based on your target species.
- Live Bait: Leeches, minnows, or nightcrawlers are often the best options to attract fish.
Techniques for Using the Slip Bobber
With a few adjustments, you can significantly improve your catch rate, making the most of your time on the water.
Casting and Adjusting Depth
When casting a slip bobber rig, it’s important to let the line glide smoothly off the reel.
This ability to adjust depth without re-rigging is what makes slip bobbers so effective.
Reading the Slip Bobber
If the bobber suddenly rides low or tilts, it’s a sign that something is nibbling on your bait.
The low-resistance design of a slip bobber ensures fish are less likely to feel the tension and spook.
Quick Adjustments
One of the main advantages of using slip bobbers is the ability to change depths quickly.
If you notice that fish are not biting at your current depth, simply adjust the bobber stop and recast.
The adaptability is especially useful in fluctuating conditions where fish may be moving up or down in the water column throughout the day.
1. Improper Depth Adjustment
One of the most frequent mistakes anglers make when using a slip bobber rig is incorrectly setting the bobber stop. If your bait isn’t reaching the intended depth, you could be fishing in an area where fish simply aren’t present.
For example, if you’re targeting bottom-dwelling species like walleye, but your bait is hanging in the middle of the water column, you’re missing your target completely.
Conversely, if you’re fishing for species that feed closer to the surface and your bait is too deep, you’ll likely end up frustrated.
How to Fix It:
Always double-check the bobber stop position before you cast. If you’re not getting bites, try adjusting the depth by a few inches at a time until you find where the fish are feeding.
Using a fish finder can also be incredibly helpful in determining the right depth, especially in deeper waters.
Pro Tip: Marking your line with a small piece of tape at your desired depth can serve as a quick visual reference, making it easier to reset the bobber stop if it moves during a cast.
2. Casting Errors
Improper casting technique is another common issue, especially for those new to slip bobber fishing.
Casting too close to your boat, kayak, or even the shoreline can easily spook fish, especially in clear, shallow waters where they’re more sensitive to noise and disturbances.
Casting directly into the wind or not accounting for it can lead to tangled lines and inaccurate casts, resulting in lost rigs or time wasted trying to fix knots.
How to Fix It:
Aim to cast with a smooth, controlled motion, allowing your rig to land softly on the water. Give yourself some distance from the boat and let the bait settle quietly into the water to avoid startling the fish.
When fishing near obstacles like docks or overhanging trees, use a sidearm cast to prevent your line from snagging. In windy conditions, consider casting with the wind to improve accuracy and distance.
Pro Tip: Practice your casting technique in an open area before hitting the water. Getting comfortable with how the rig handles will save you from unnecessary frustration.
3. Not Monitoring the Bobber
Staying vigilant is crucial when fishing with a slip bobber rig. It’s surprisingly easy to lose focus, especially on slow days when bites are few and far between.
However, slip bobbers are designed to be sensitive, reacting to even the slightest nibble.
A bobber that twitches, moves sideways, or dips slightly below the surface can be a sign of a fish testing your bait.
If you’re not paying attention, you could miss out on setting the hook in time, letting a catch slip away.
How to Fix It:
Focus on your bobber’s movement and be ready to react. If you notice any unusual activity, like the bobber moving against the current or dipping unexpectedly—set the hook quickly but smoothly.
Sometimes, fish will nibble lightly before fully committing to the bait, so don’t hesitate to reel in slowly to check if there’s any resistance.
Pro Tip: If you’re fishing with friends, take turns keeping an eye on each other’s bobbers. This team approach ensures someone is always monitoring the water, especially during those lulls in activity.
4. Using the Wrong Size Bobber or Weights
A slip bobber that’s too large or too heavily weighted can prevent you from detecting bites, especially from smaller fish.
On the other hand, if your bobber is too light, it may not stand upright in choppy waters, causing you to miss clear indications of a bite.
How to Fix It:
Choose a bobber size that matches the water conditions and the type of fish you’re targeting. For calm lakes, use a smaller, more sensitive bobber.
For rougher waters, opt for a larger bobber that’s easier to spot. Adjust the weights as needed to ensure the bobber is balanced correctly, just enough to keep it upright without sinking.
Pro Tip: Bring a few different sizes of bobbers and weights to the water. This way, you can adjust your setup based on changing conditions, ensuring you always have the most effective rig.
The Bottom Line
Slip bobber fishing is a fantastic way to enjoy the outdoors, whether alone or with family.
Experiment with different baits and depths to discover what works best for your fishing spot.
Once you get the hang of it, slip bobber rigs can turn a quiet morning by the lake into a productive and fun-filled adventure.
Related Posts:


